Let’s show you how we make a chessboard. We’ll actually create videos for this, but working on it while also filming (professionally) is a bit challenging. We haven’t yet created a full video. However, we can illustrate the process with visuals.
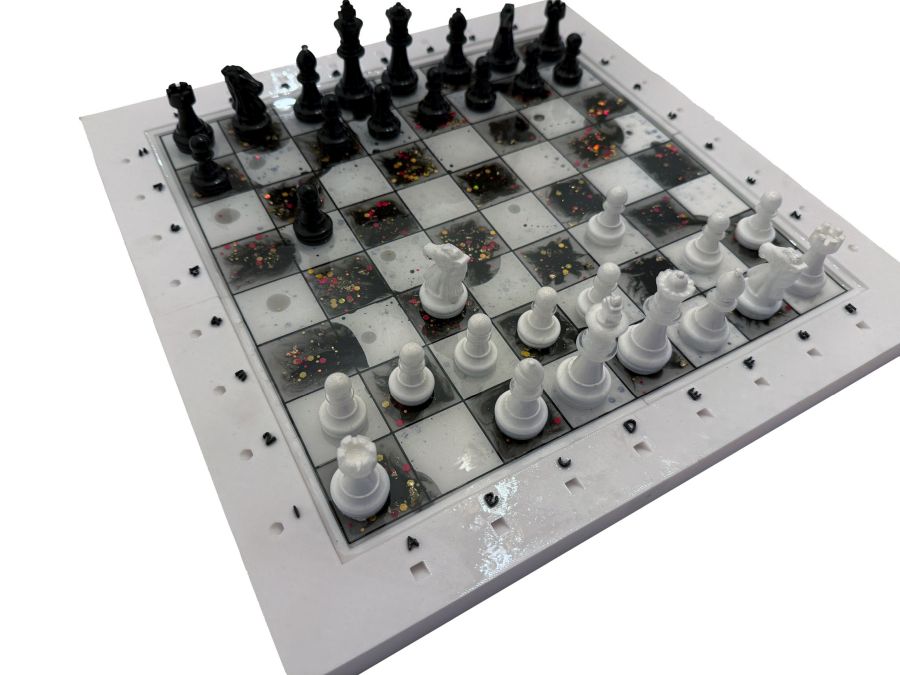
Here, I’ll tell you the story of how we make a standard 30×30 cm chessboard, with the center cast in a silicone mold and the frame printed on a 3D printer. Examples of this type include:
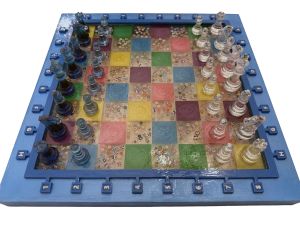
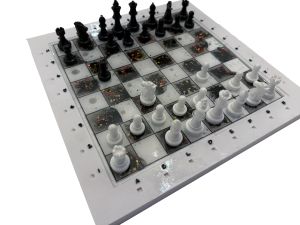
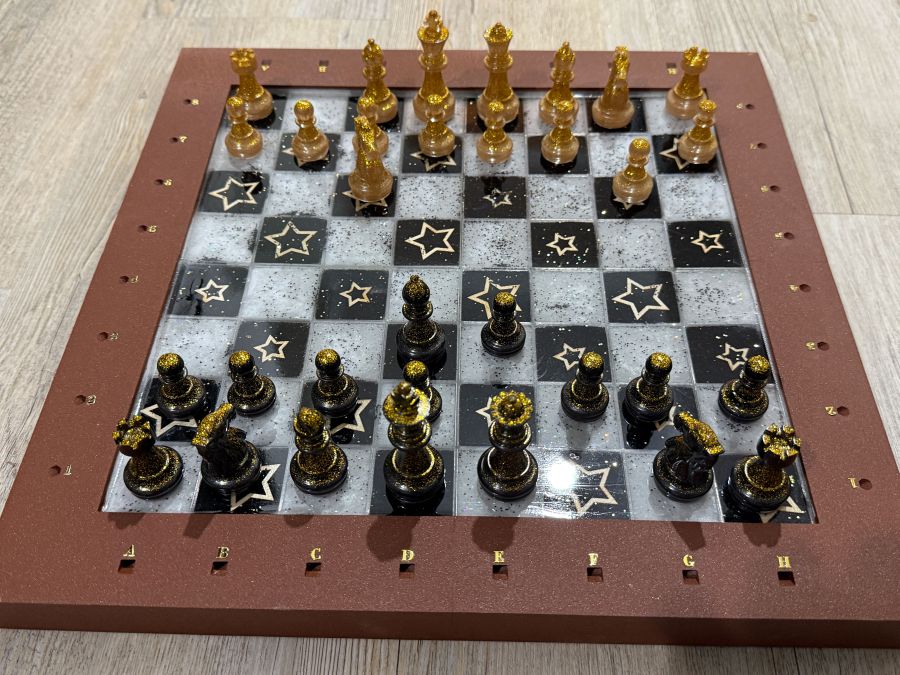
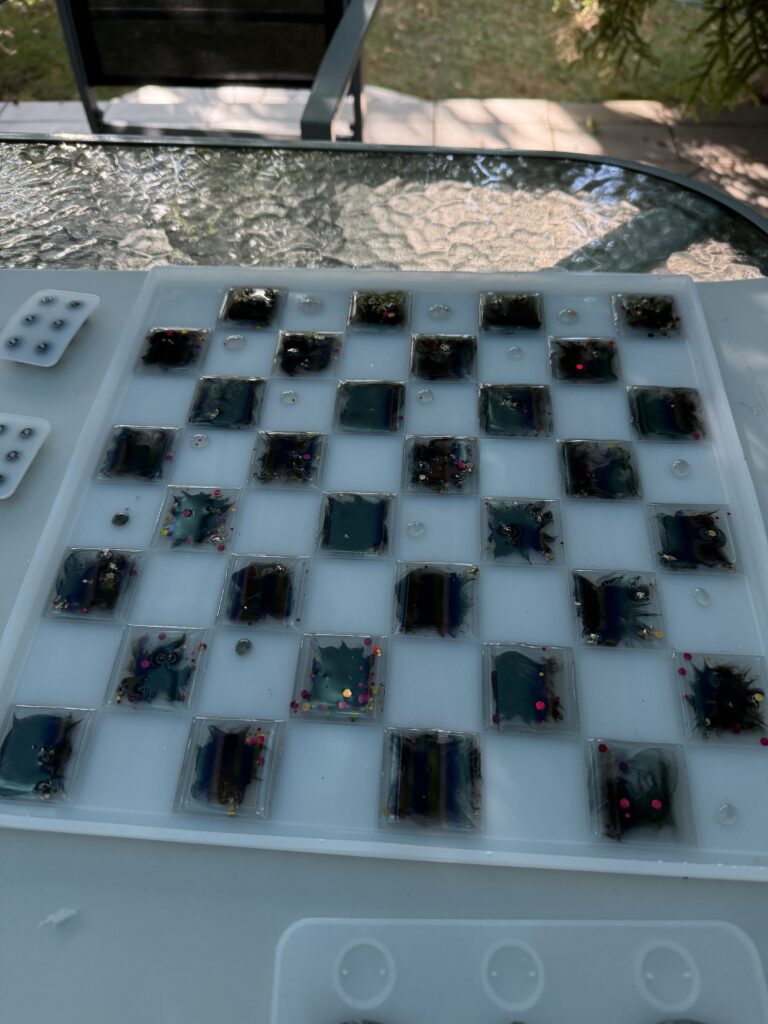
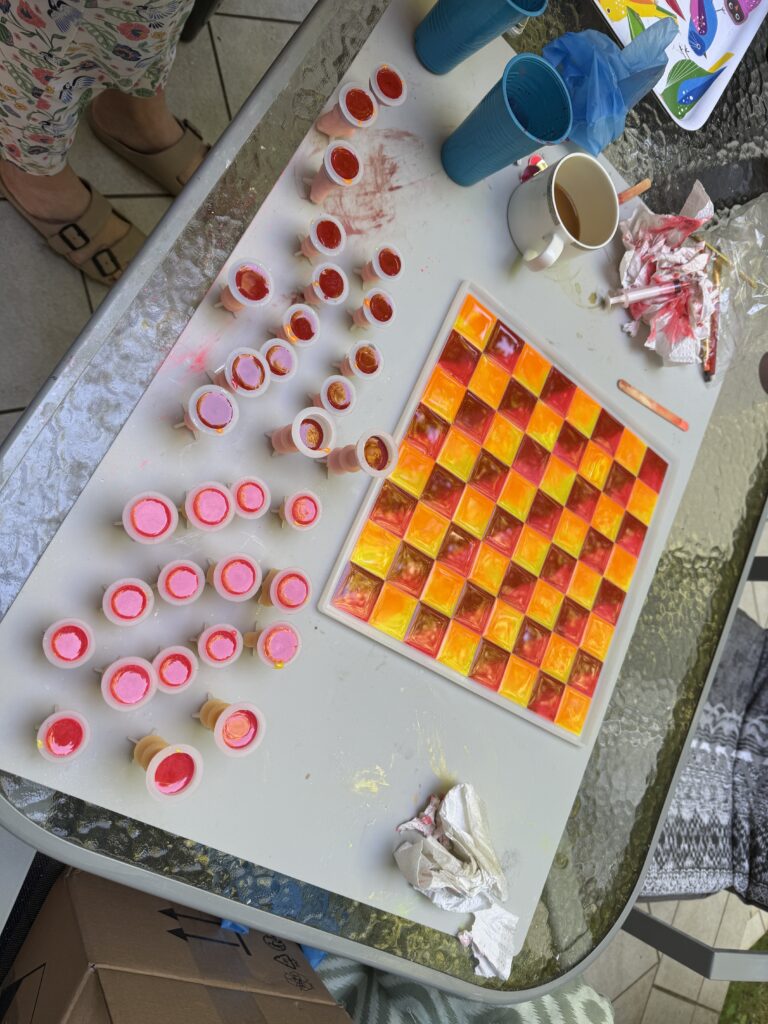
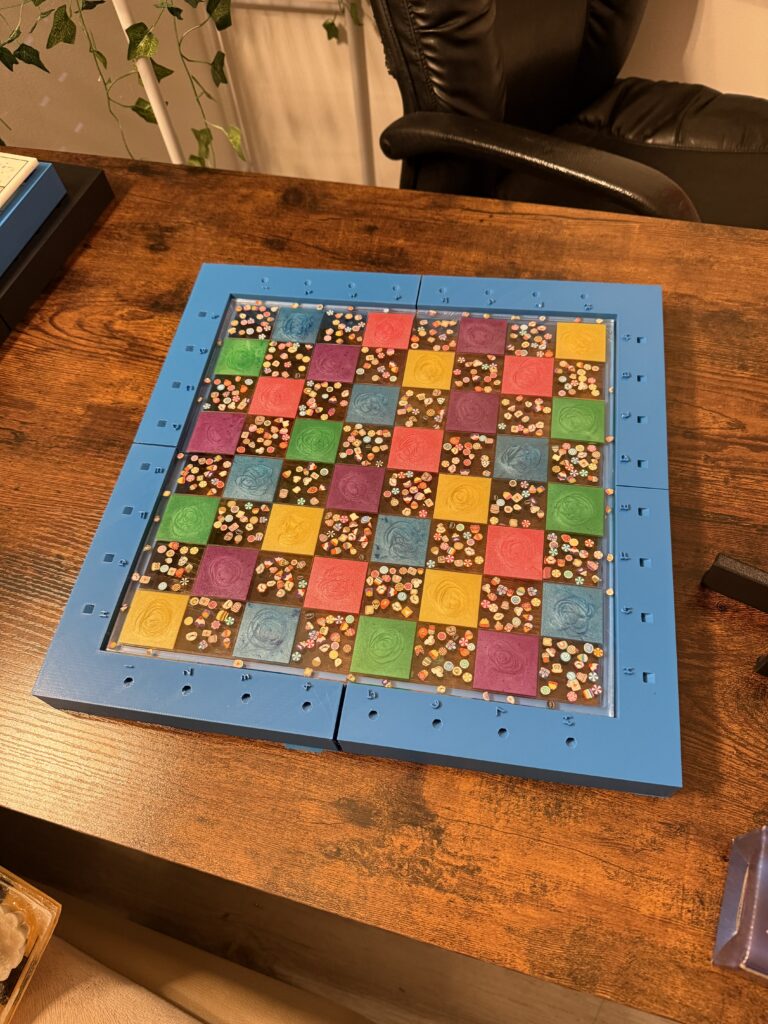
The story of chess begins with the casting of half of its 32 squares. First, we cast a single-colored square to prevent the colors from mixing. Otherwise, factors like tilt, vibration, and wind can cause the colors to bleed. If a mistake occurs while working on one side, we clean up the other. Therefore, we cast only half of the squares at a time. Then, we let them dry for at least one day.
In the meantime, you can take a short break. But be careful what you drink. If you drink too much, you might be thinking, “Wait, I’ll paint this thing bright pink!” 🙂
Then, we move on to the other half of the squares. We prepare our epoxy mixture, mix our paint, and begin pouring the remaining squares. Since the other squares are drying at this point, we can clean up any spills or overflows. Once the remaining squares are poured, we let them dry again for at least one day.
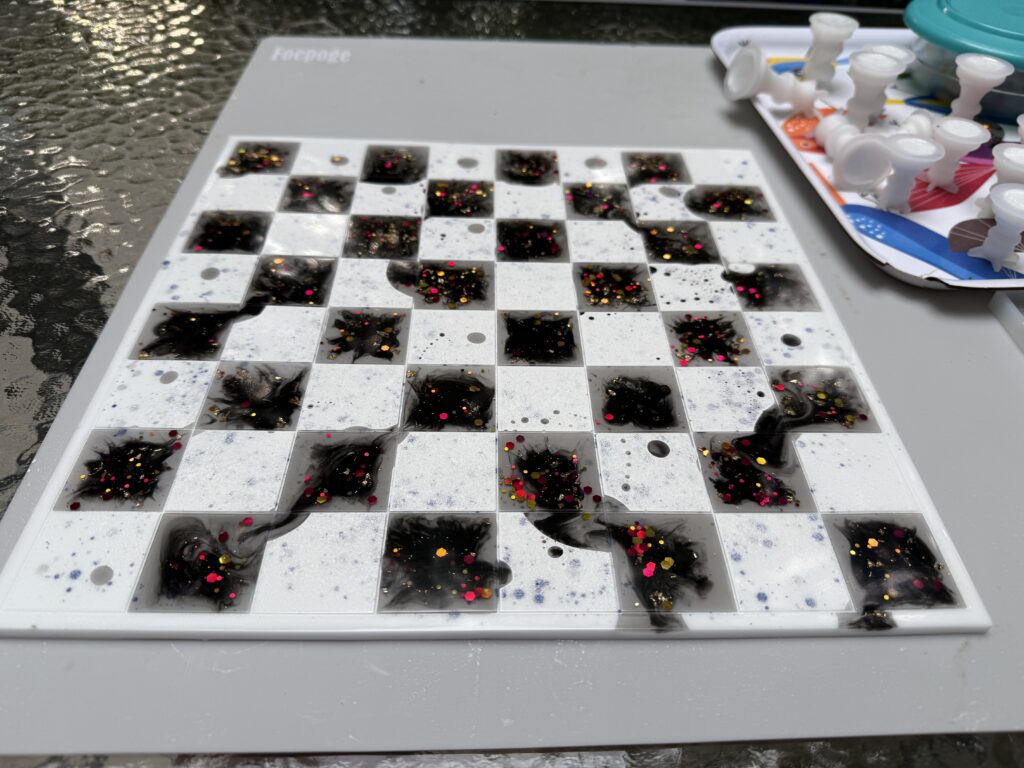
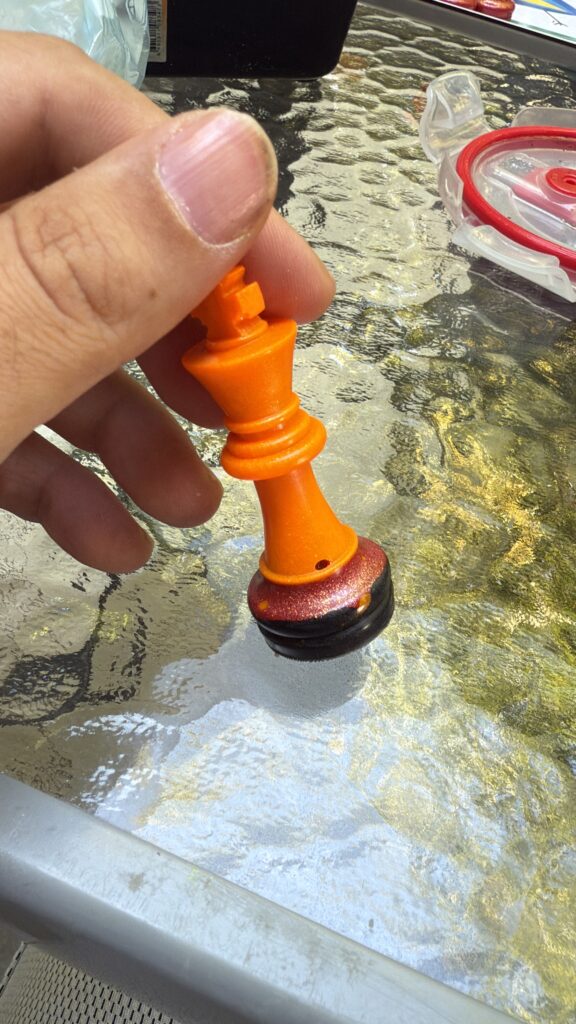
While this process is underway, we begin casting the chess pieces. If we have one mold, we can cast 16 pieces at a time, and if we have two, we can cast 32 pieces at a time. However, if the pieces are to be two colors, we only fill half of the pieces with that color epoxy at a time and wait at least six hours. Then, we pour the other half. We remove the pieces from the mold after 24 hours in summer and 48 hours in winter.
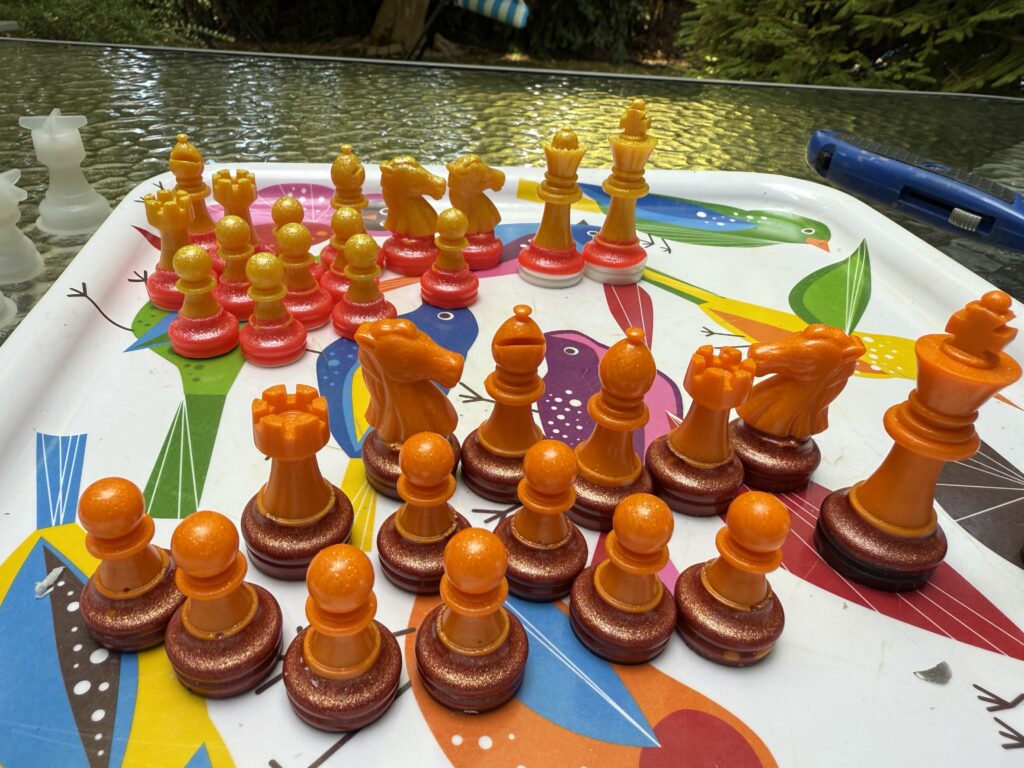
If there are any defects in the stone or wood, we repair them. The repair is usually done with UV epoxy resin. However, it’s not always successful. In these cases, we may have to recast the wood or stone.
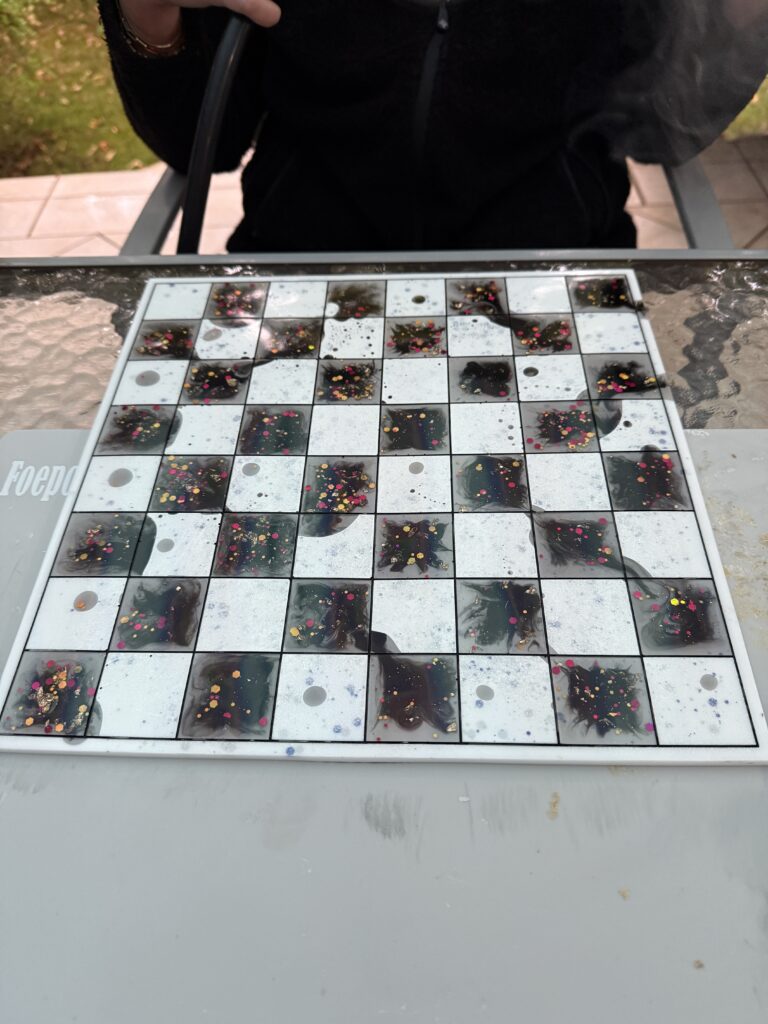
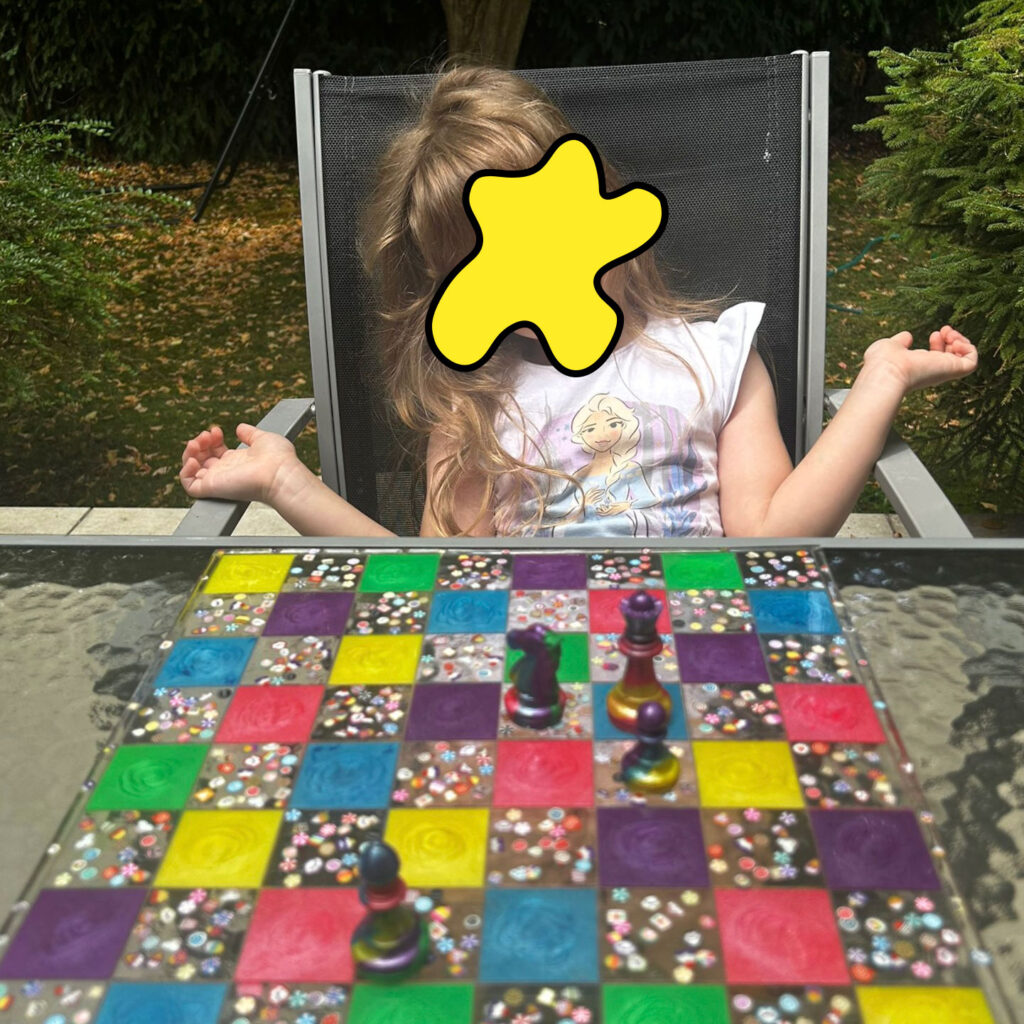
Once everything is complete, we leave it for our daughter’s “quality control.” If she likes it, it passes quality control. If she doesn’t, it goes in the black trash. 🙂
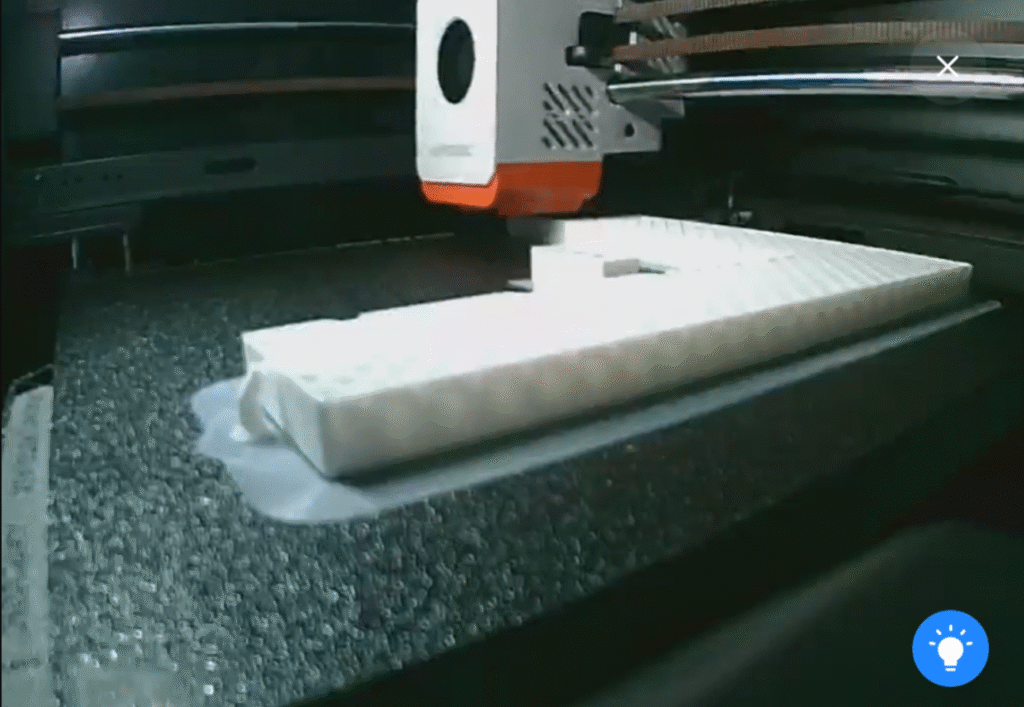
Then we go to the computer. People sometimes find it strange that 3D printers are used in something “handmade”. They say, “I thought it was handmade? Computer makes it.” However, we “make” all of these chess pieces by hand. Could there be anything more “handmade” than a product that we hand-drawn on a computer, designing every detail, every millimeter 🙂 What do we design? The size of the frame, the patterns, the letters and numbers on it… We first draw it on the computer. Then we send it to the 3D printer and hope it “doesn’t make a mistake” 🙂 Because frames are quite large pieces. The filament that goes to waste in the event of a mistake isn’t exactly “cheap”.

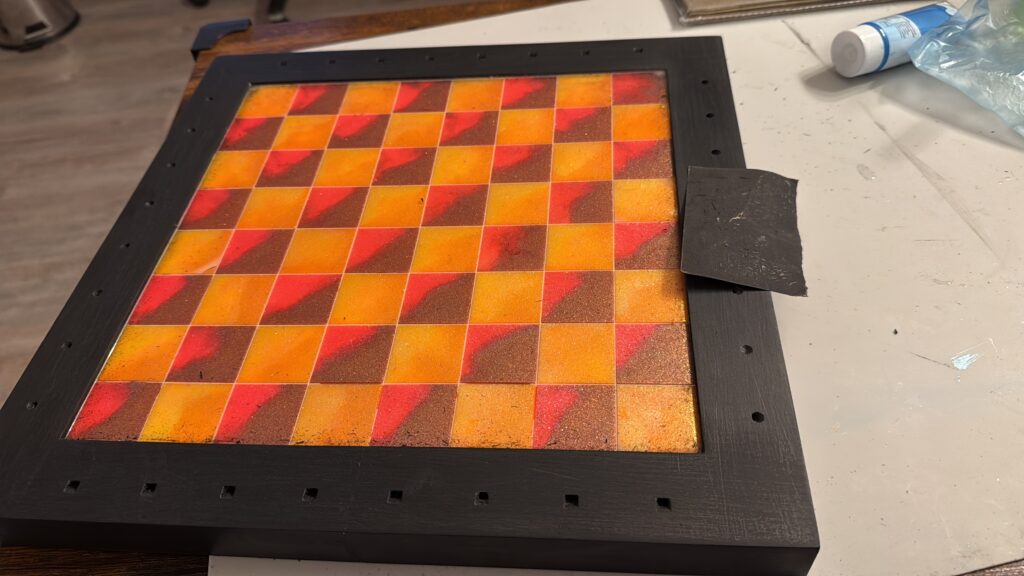
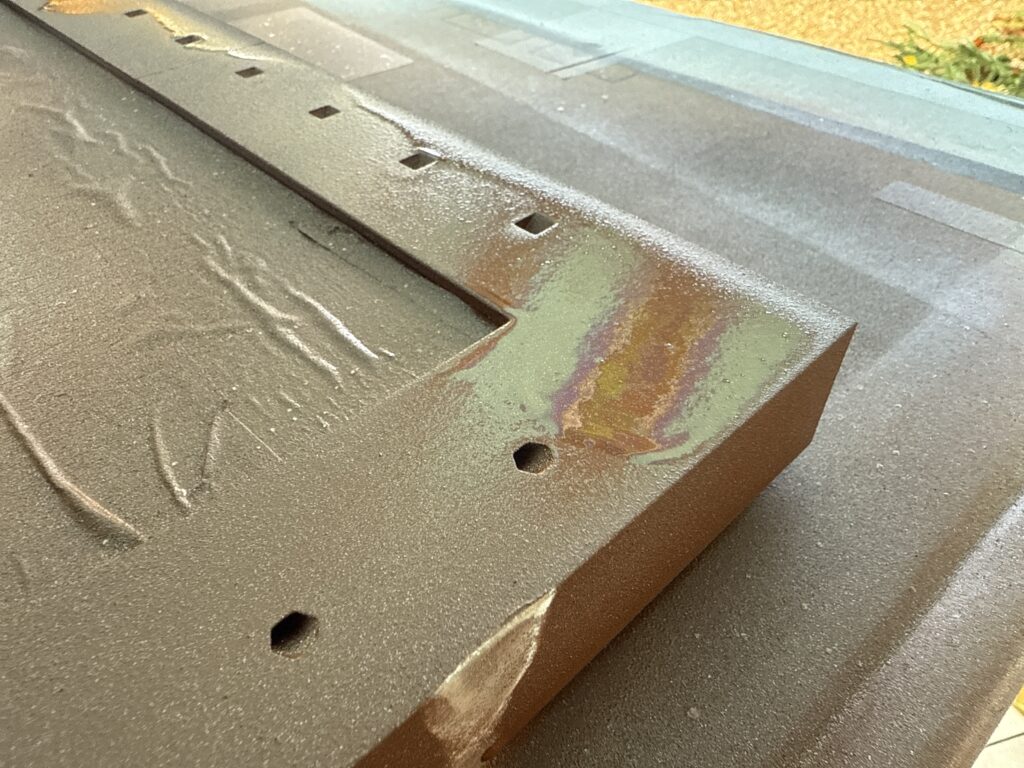
After the print is finished, we remove the frame. First, we clean it of any 3D printer residue and supports. We fill in any small, fixable imperfections using wood filler or metal filler. We let it dry for a day. Then, we take various grits and sand it by hand for at least half an hour. This process rids the frame of the “poor” 3D printer finish and gives it a smooth and elegant finish. Then we begin a paint-sanding cycle. First, we apply a coat of primer. After an hour, a fine sandpaper. Then another coat of primer. More sanding. Then paint. Sanding again. After six hours, another coat of paint. More sanding. In this manner, we apply two coats of sanding, three coats of paint, and two coats of varnish, completing the frame in approximately two days.
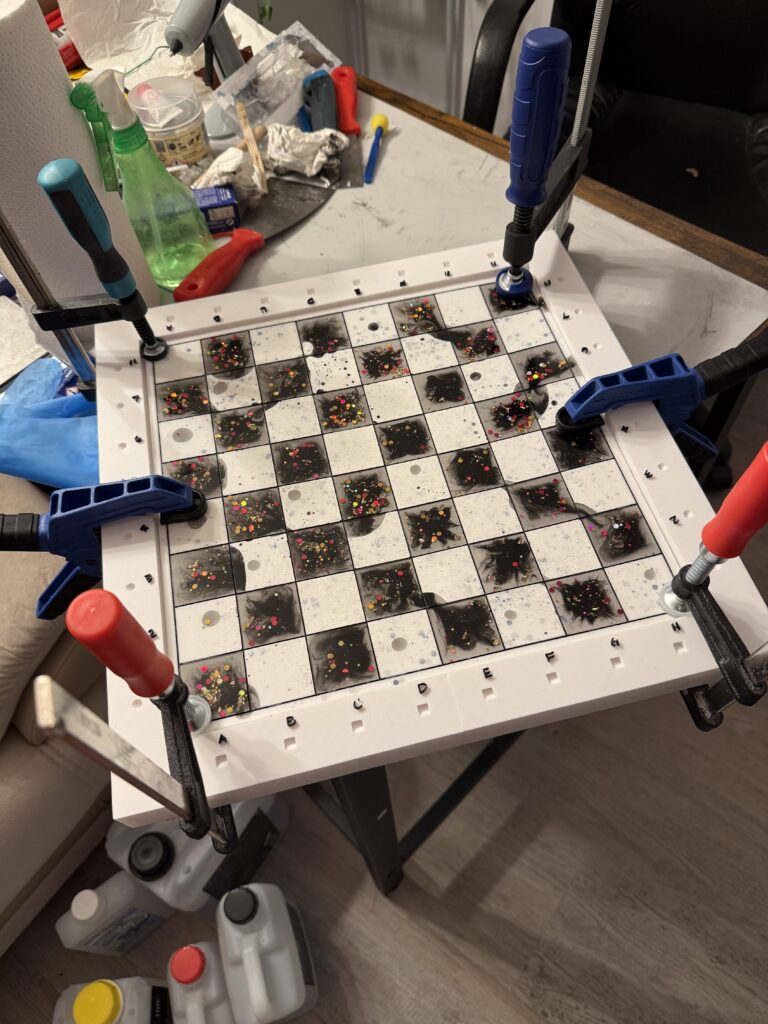
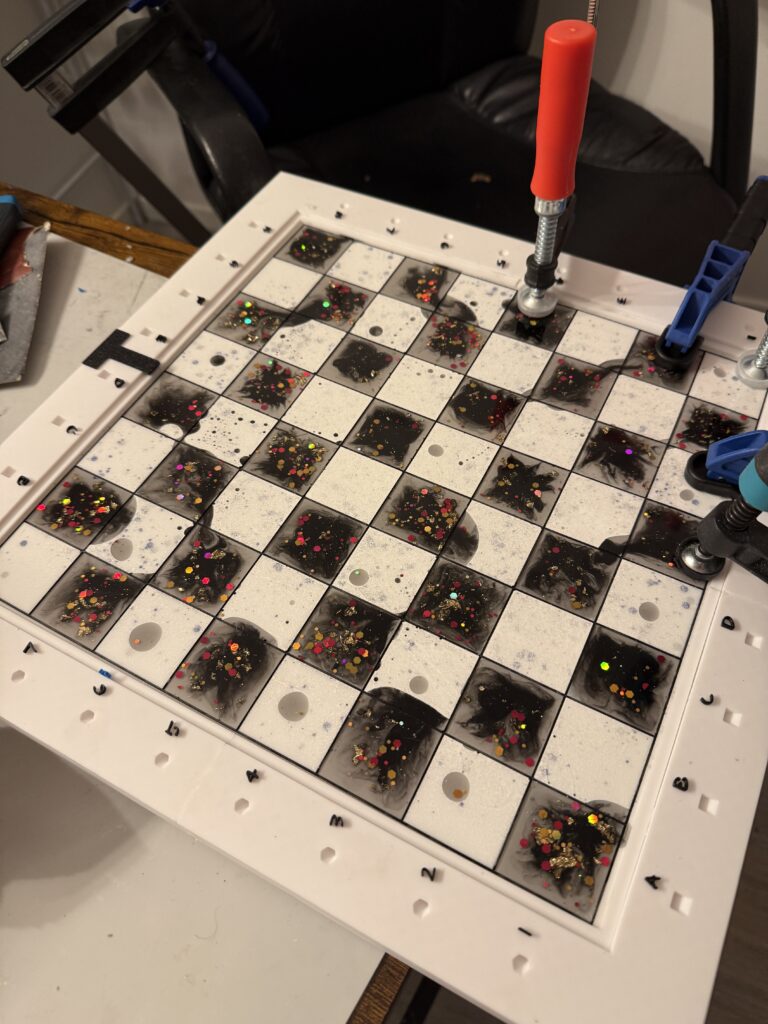
Sometimes before painting, sometimes after; sometimes a little before and a little after, we assemble the frame and chessboard. We fuse the chessboard and frame into a single piece. We generally use fast-drying epoxy adhesives for this process. We let it set for at least a day. Then, we seal all the joints of our now-solid frame with liquid latex or aquarium silicone. This is because we’ll be applying another coat of epoxy both on and under the chessboard. This will make the chessboard very durable and will eliminate any unsightly effects from painting or sanding.
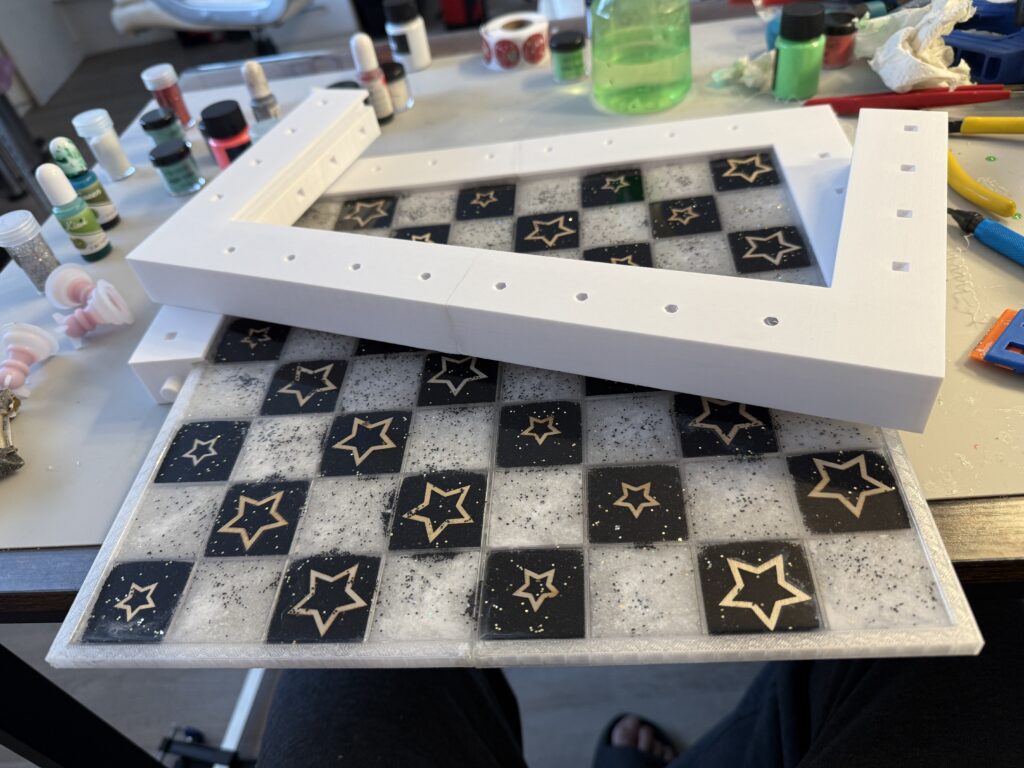
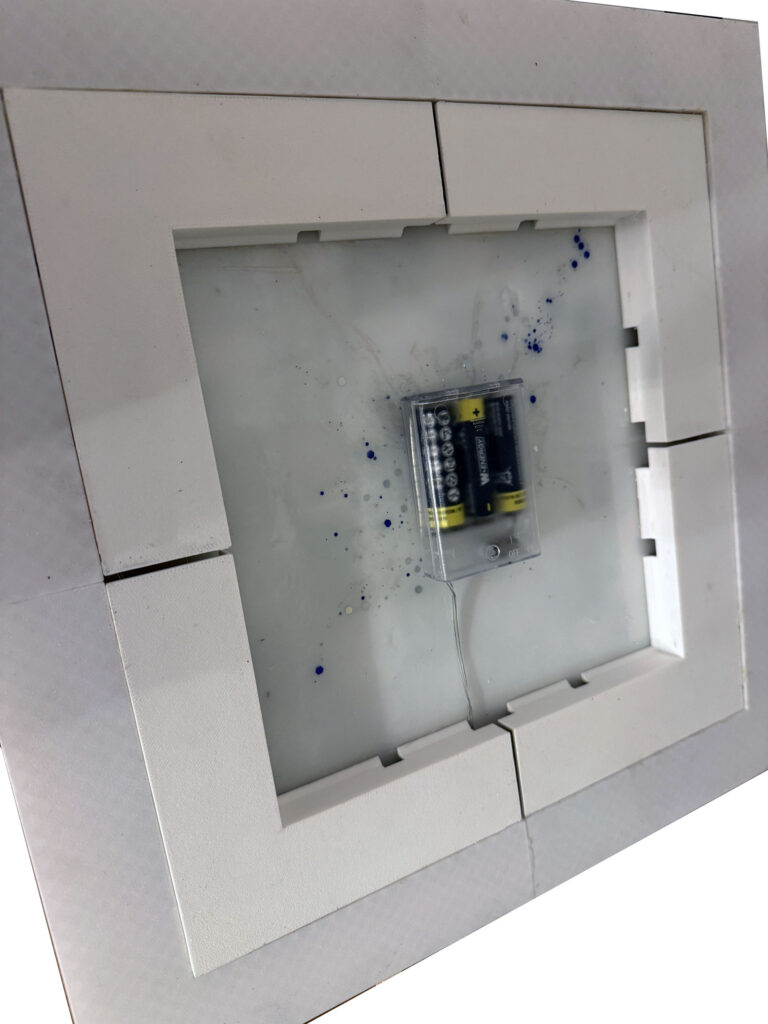
Days later, once our chessboard is assembled and the top and bottom epoxy coats are applied, it’s time for the finishing touches. We typically apply the letters and numbers to our chessboards later. For example, we print the boards that will be painted completely flat, which allows them to be sanded and painted. For chessboards that won’t be painted, we print the letters and numbers together. Letter and number labels are applied to the painted boards at this stage. Then, if they’re going to be illuminated, LED lights are installed. If necessary, the underside is covered.

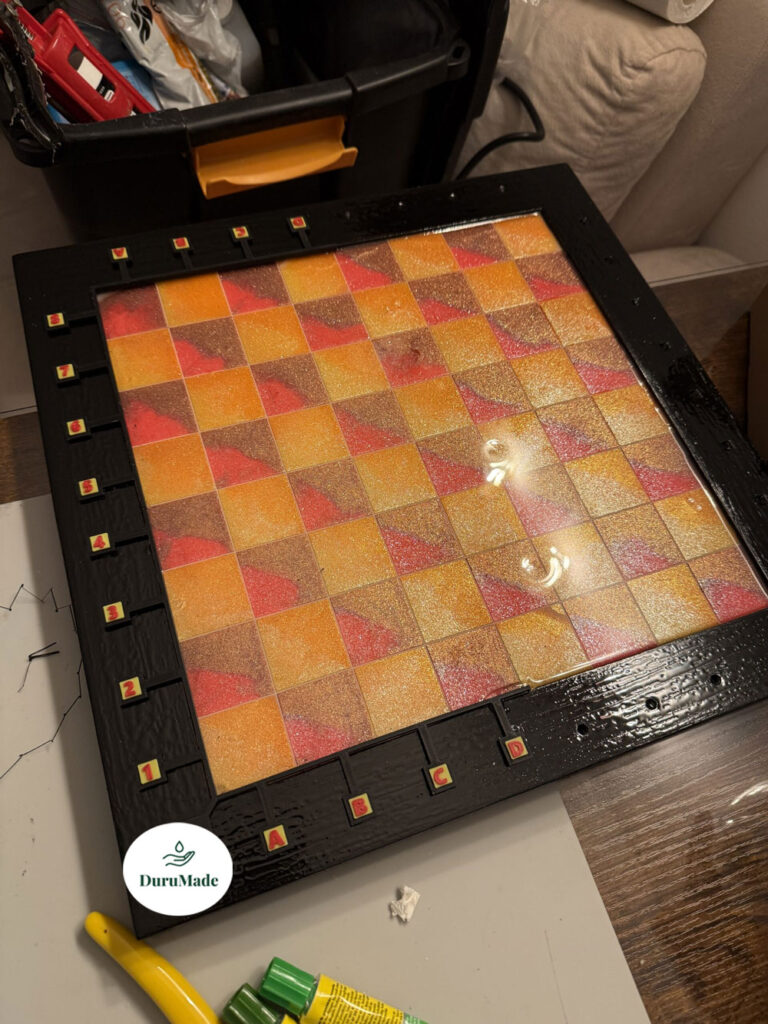
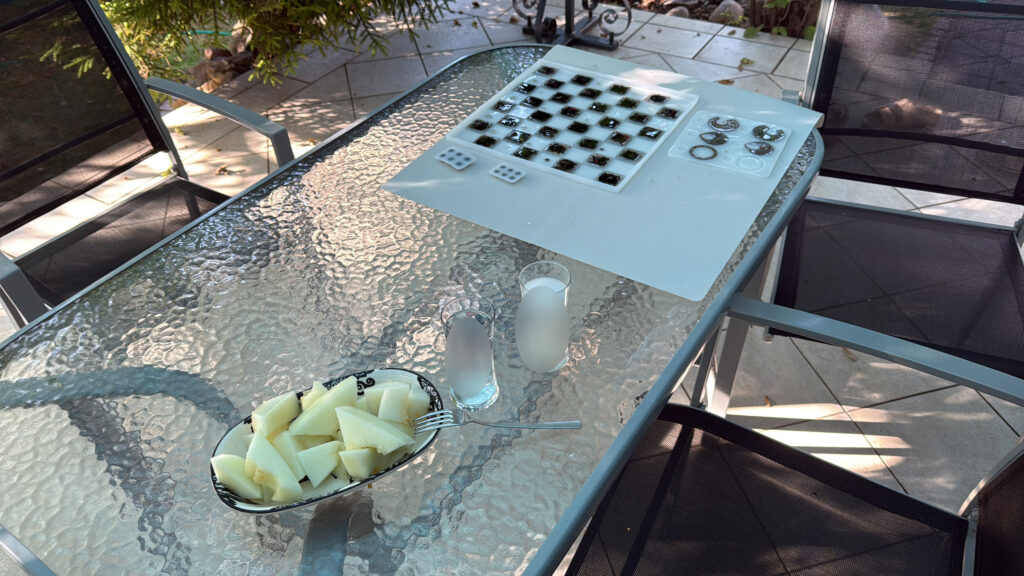
And after days of work and effort, a chessboard is completed. Believe me, sometimes by the time the chessboard is finished, it can be months from the day it was started. It also costs you a lot of time and money. The joy of finally arranging the pieces on the board and photographing them is priceless.